DIY diaries
Embroidery is a physically painful challenge with subpar results
More stories from Erica Jones
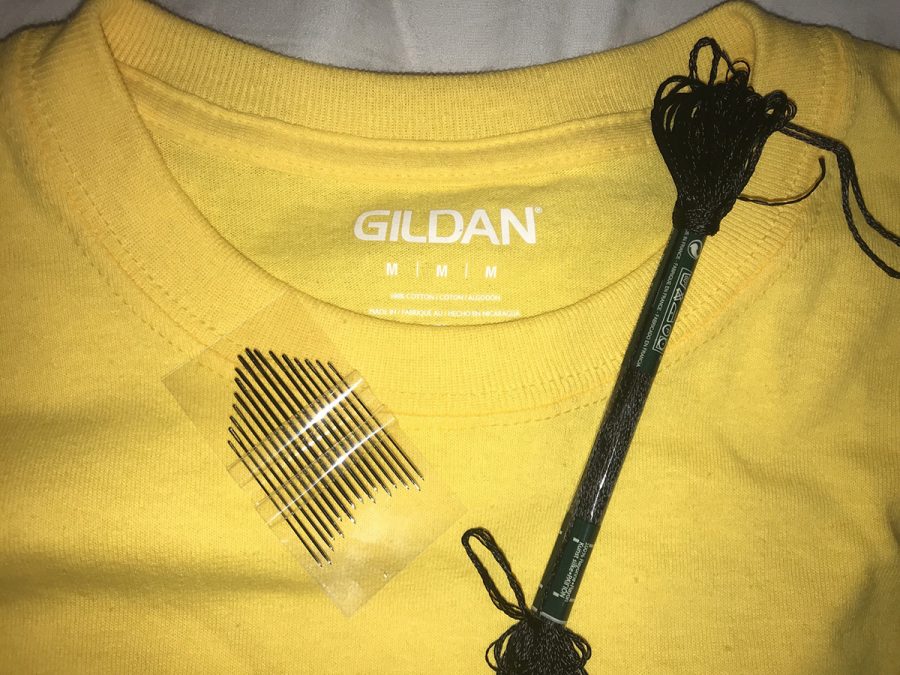
Photo by Erica Jones
The materials needed to embroider a T-shirt cost less than $10 total
It’s 2018, and I’m still addicted to Pinterest. The creative bug bit me a long time ago, and I haven’t been able to look away from the inspirational and colorful app since. With its handy DIY ideas and guides, it begs to be opened and scrolled through. And who am I to say no to that?
I have thousands of pins on dozens of boards, one of my largest being my DIY board. Then I have a board dedicated solely to DIY home decor. Yet another is centered around beauty products that you can make from ingredients typically found in the kitchen. My personal favorite is called “sew cute,” and — you guessed it — it’s all potential sewing projects. I doubt I need to say this, but I might have a problem.
So, this week, I gave into my creative urges and embroidered a T-shirt. I’ve seen tons of cool ideas lately, ranging from embroidered sayings on pockets to flowers along hems and everything in between. Personally, I’ve always been one for catchy and/or sassy slogans, so I was drawn to the idea of words.
After picking up a bright yellow shirt from the craft store, I thought for quite a while about what a good saying would be for the shirt. Yellow says positive to me, so as much as I wanted something snappy, I couldn’t stop thinking along the lines of sunshine and optimism. Then it came to me: “It’s all good.”
I’ve never actually embroidered or cross-stitched anything before, so despite my basic comfort level with a needle and thread — I’m talking sewing on buttons, people — I knew this was going to be a whole new ball game. Regardless, I assumed it was going to be a relatively quick and easy project. I was wrong.
There is so much more to embroidering the shirt than I would have guessed. I had to mark guidelines along the collar, create a basic stencil to follow, separate the embroidery floss into much thinner strands, stitch and restitch, correct numerous mistakes, pause to find the needle I somehow lost even though it was just in my hand and triple-tie knots.
It took me two and a half hours, direct lamp light and a snack break to complete my shirt, but I’m happy to say my skills improved the closer I got to the end. The back of the stitching looked much less chaotic on the word “good” than it did on “it’s.” I only accidentally stabbed myself seven times with the needle, and I’m counting that as a win.
If I were to give others advice for taking on this project, it’d be this: Sit at a table or desk where you won’t be in a weird seating position that will inevitably become uncomfortable; be patient; only panic a little bit when you lose your needle — you’ll need to move very slowly, lest you step or sit on it (yes, I am speaking from experience); don’t overestimate your skill level; maybe get a thimble or something to protect your fingers.
For the future, I know now to set aside a good chunk of time if I want to make something like this. It’s better to take it slowly; in the end, I discovered smaller stitches look better and the bigger ones look almost sloppy. Mistakes I made were pretty easy to fix, as the gaps in the fabric of the shirt were big enough that they allowed me to backtrack without much trouble. Ultimately, I’m glad I did this project despite drawing blood by mistake and getting a kink in my neck because of my poor seating choice (my bed).
This wasn’t the nicest or prettiest thing I’ve ever created, but it did allow me the “me time” I so desperately needed, so I’d certainly recommend it for that purpose. If you’re not into making art that requires patience, an eye for detail and nimble fingers, this one might not be for you.
Despite all my DIY woes with this project, “it’s all good.” See what I did there?
There’s a world out there waiting to be made artsier. Happy crafting, my friends.